Video Guide
Step 1: Logging In
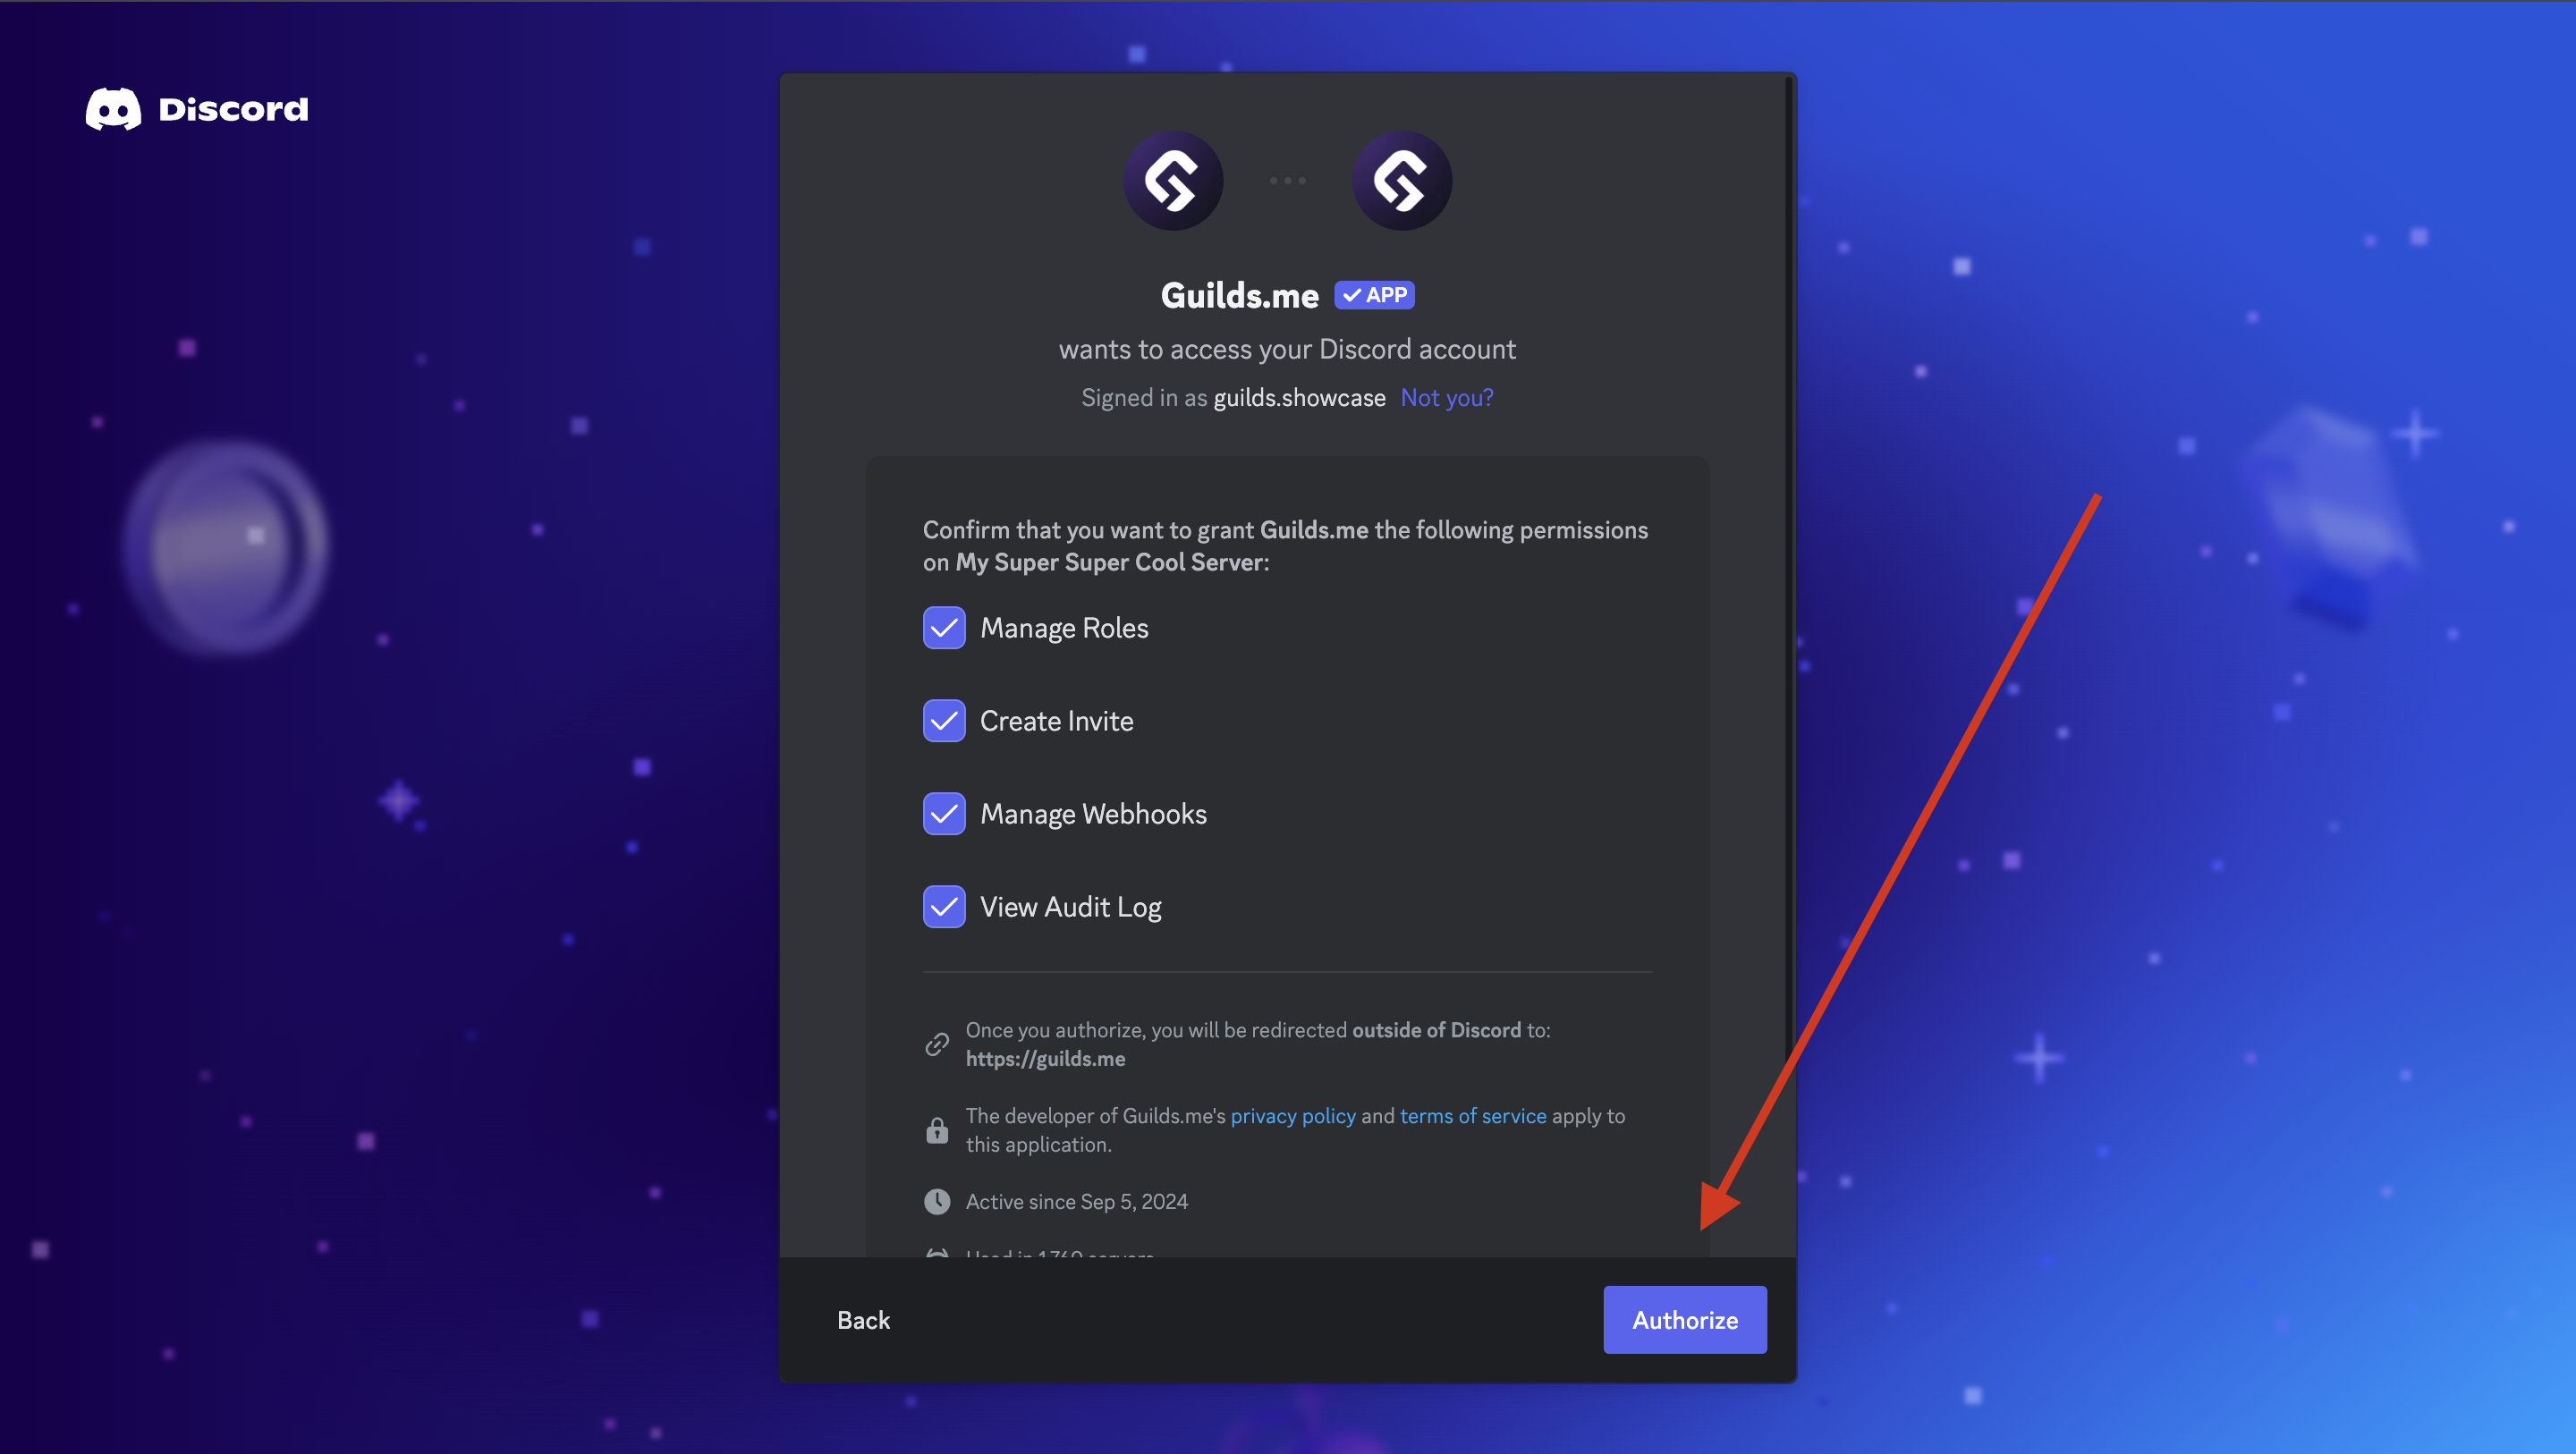
Head to https://guilds.me/add If you’re not logged in, you will be prompted to login securely with Discord. However, if you’re already logged in, you will not be prompted and you can skip to step 2. Click “Authorise”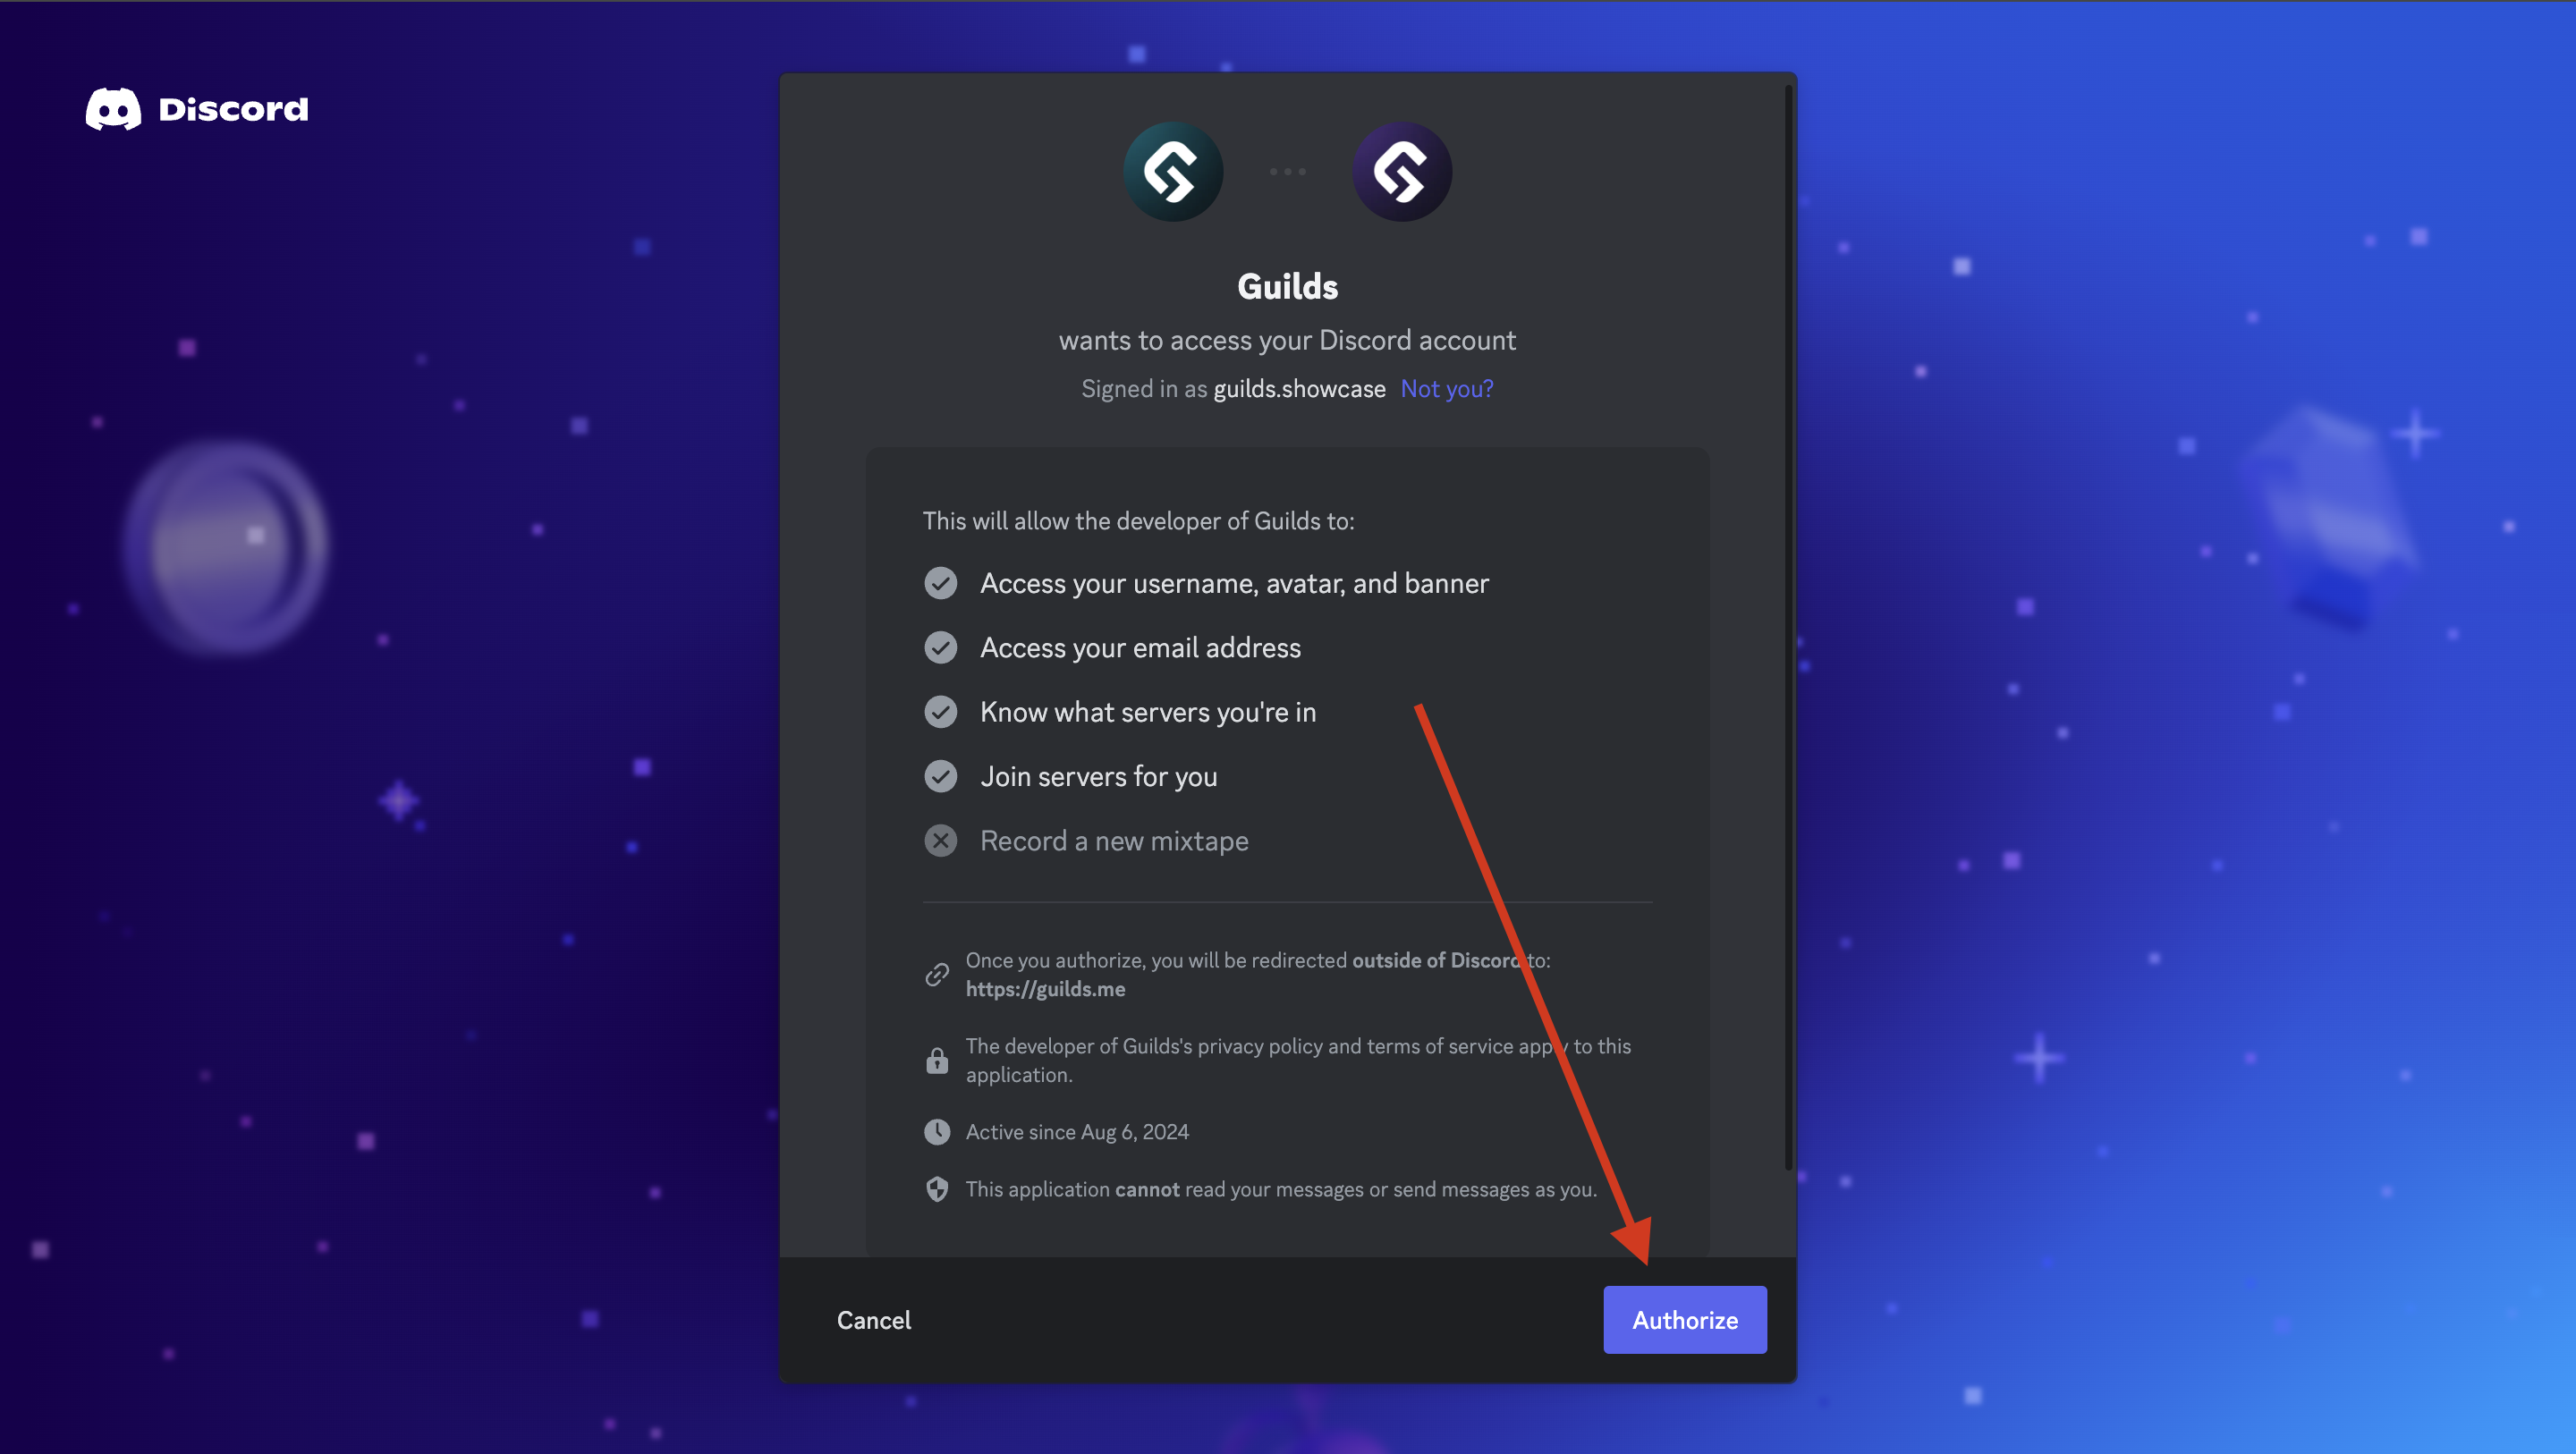
Step 2: Selecting a Server
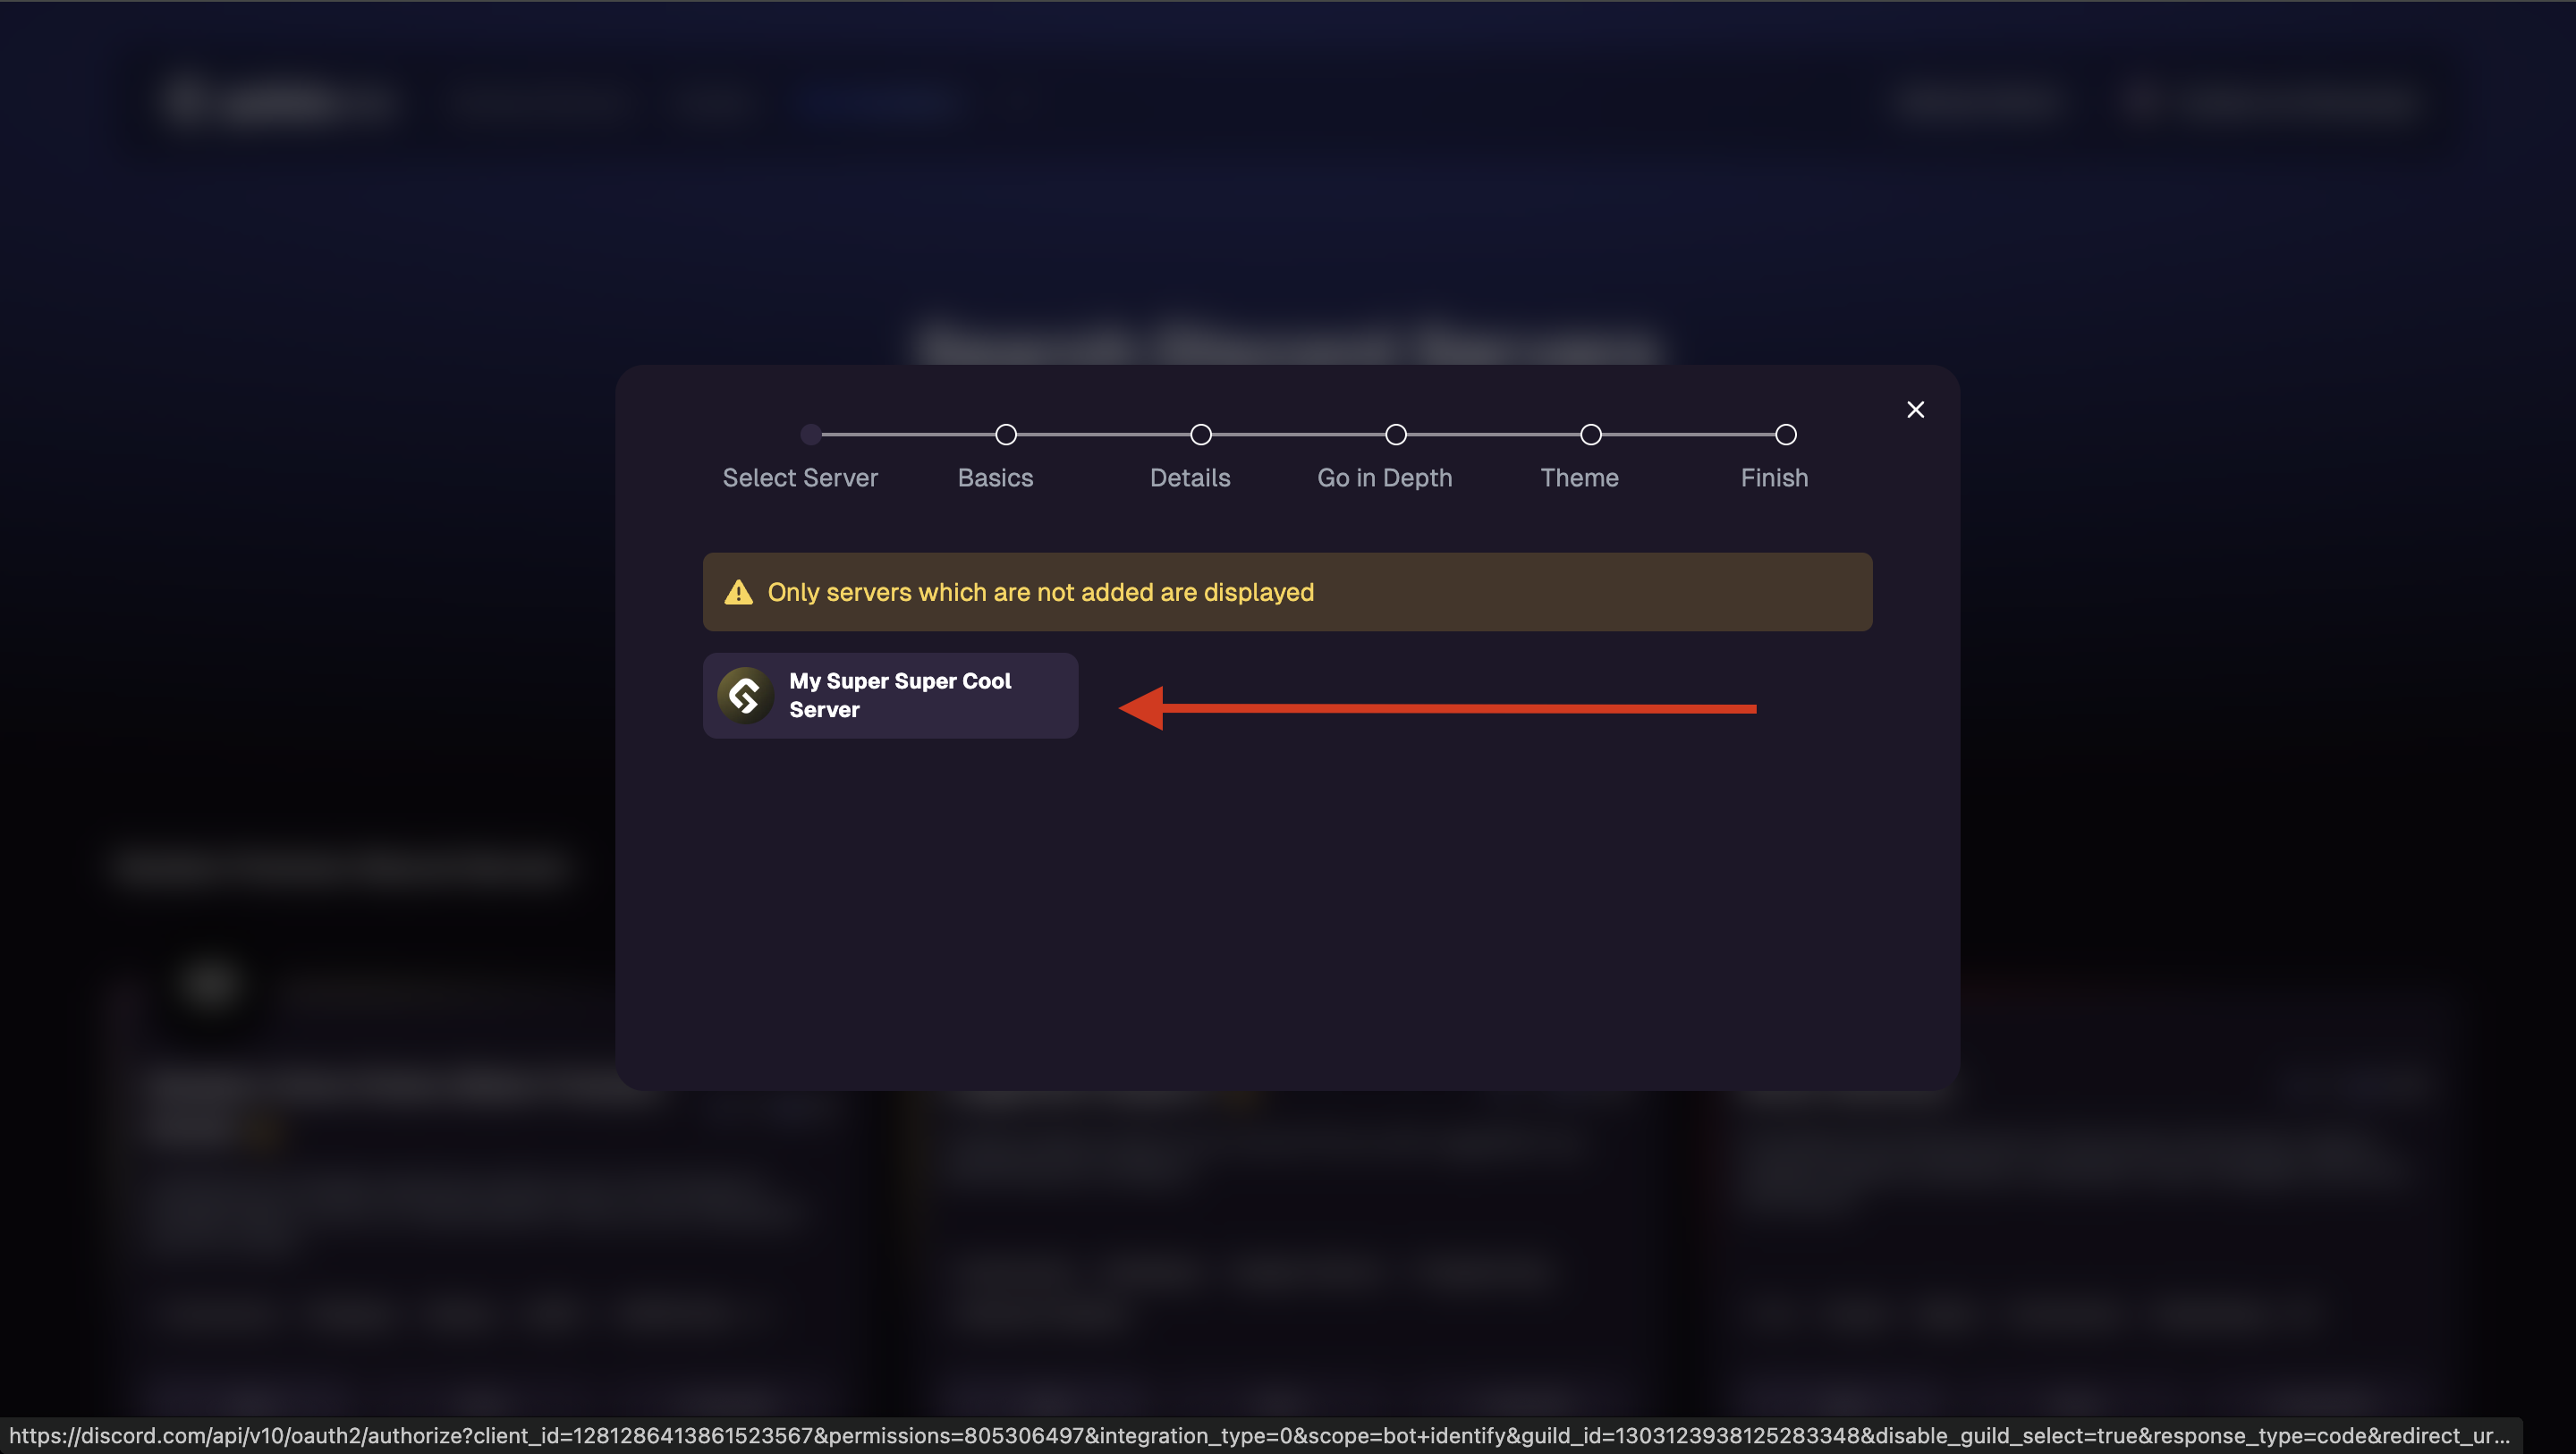
Now that you’re logged in, you should see a list of your Discord servers. Select the server which you would like to setup.We recommend that you setup all of your Discord servers
Step 3: Inviting the Bot
Upon selecting the Discord server you would like to setup in the previous step, you will now be faced with a screen prompting you to invite the bot if it is not already in your server. Select “continue” then click “authorise” and the bot will be added to your server.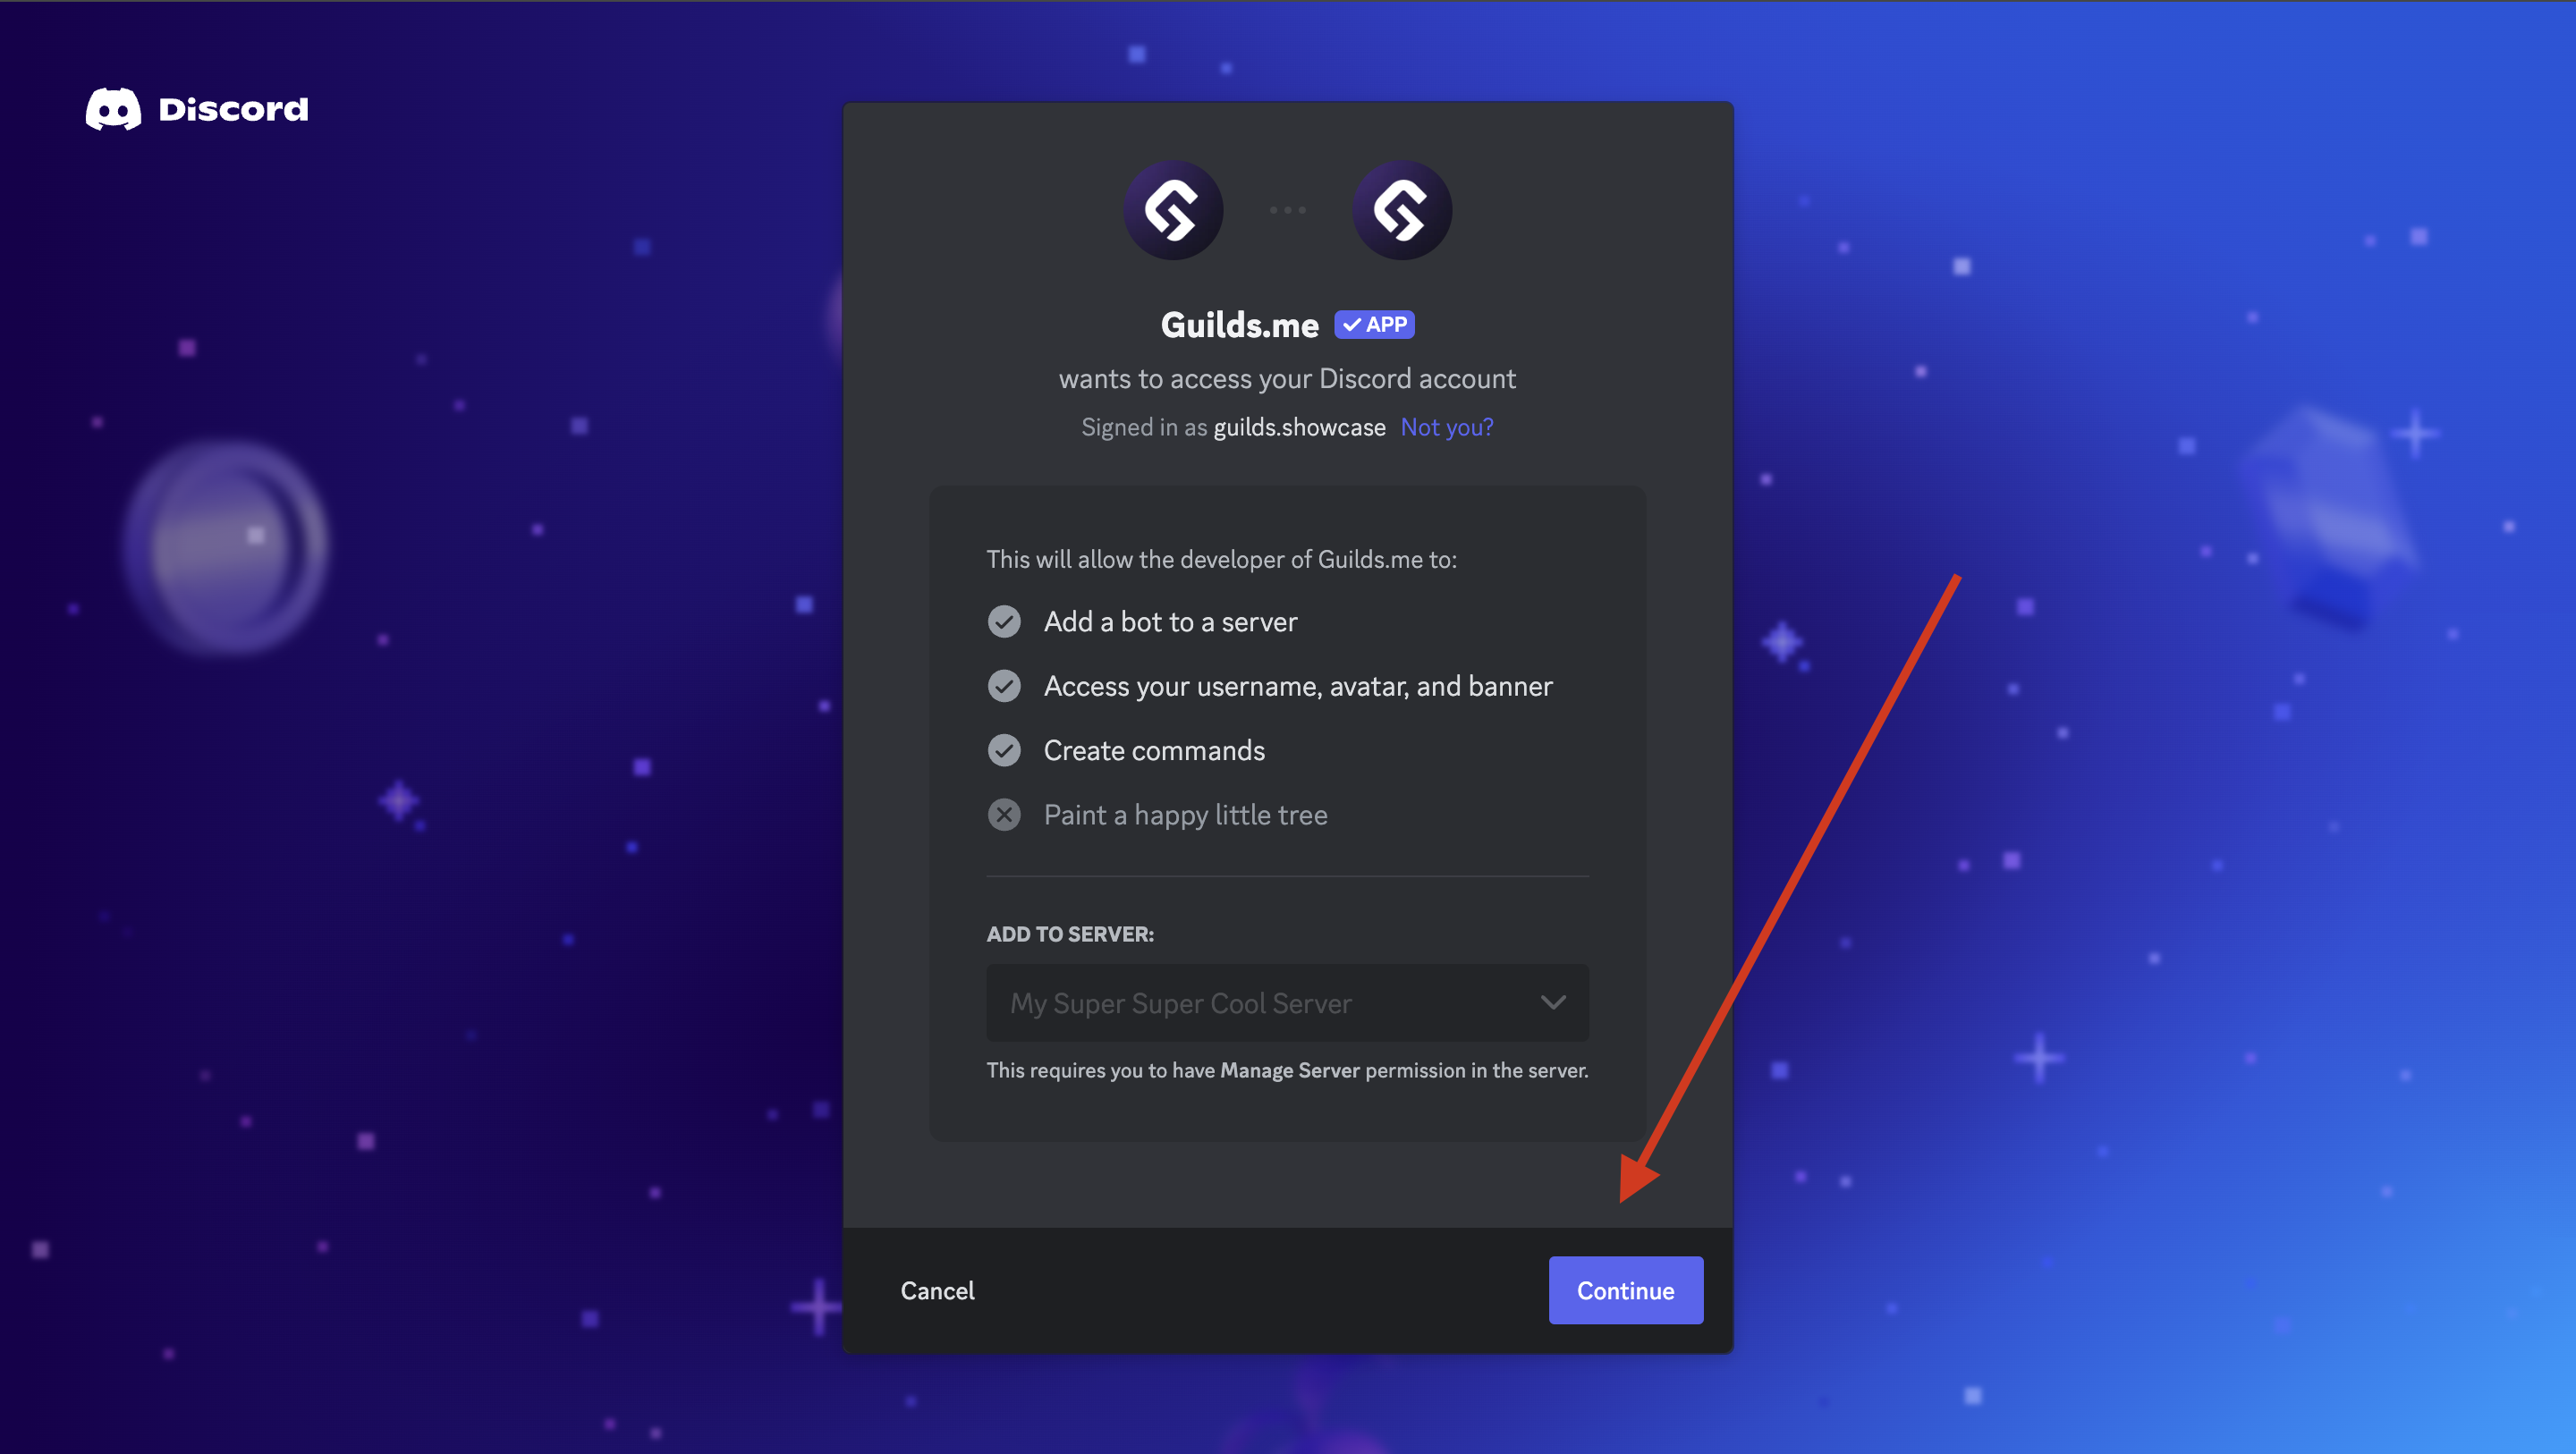
Step 4: The Basics
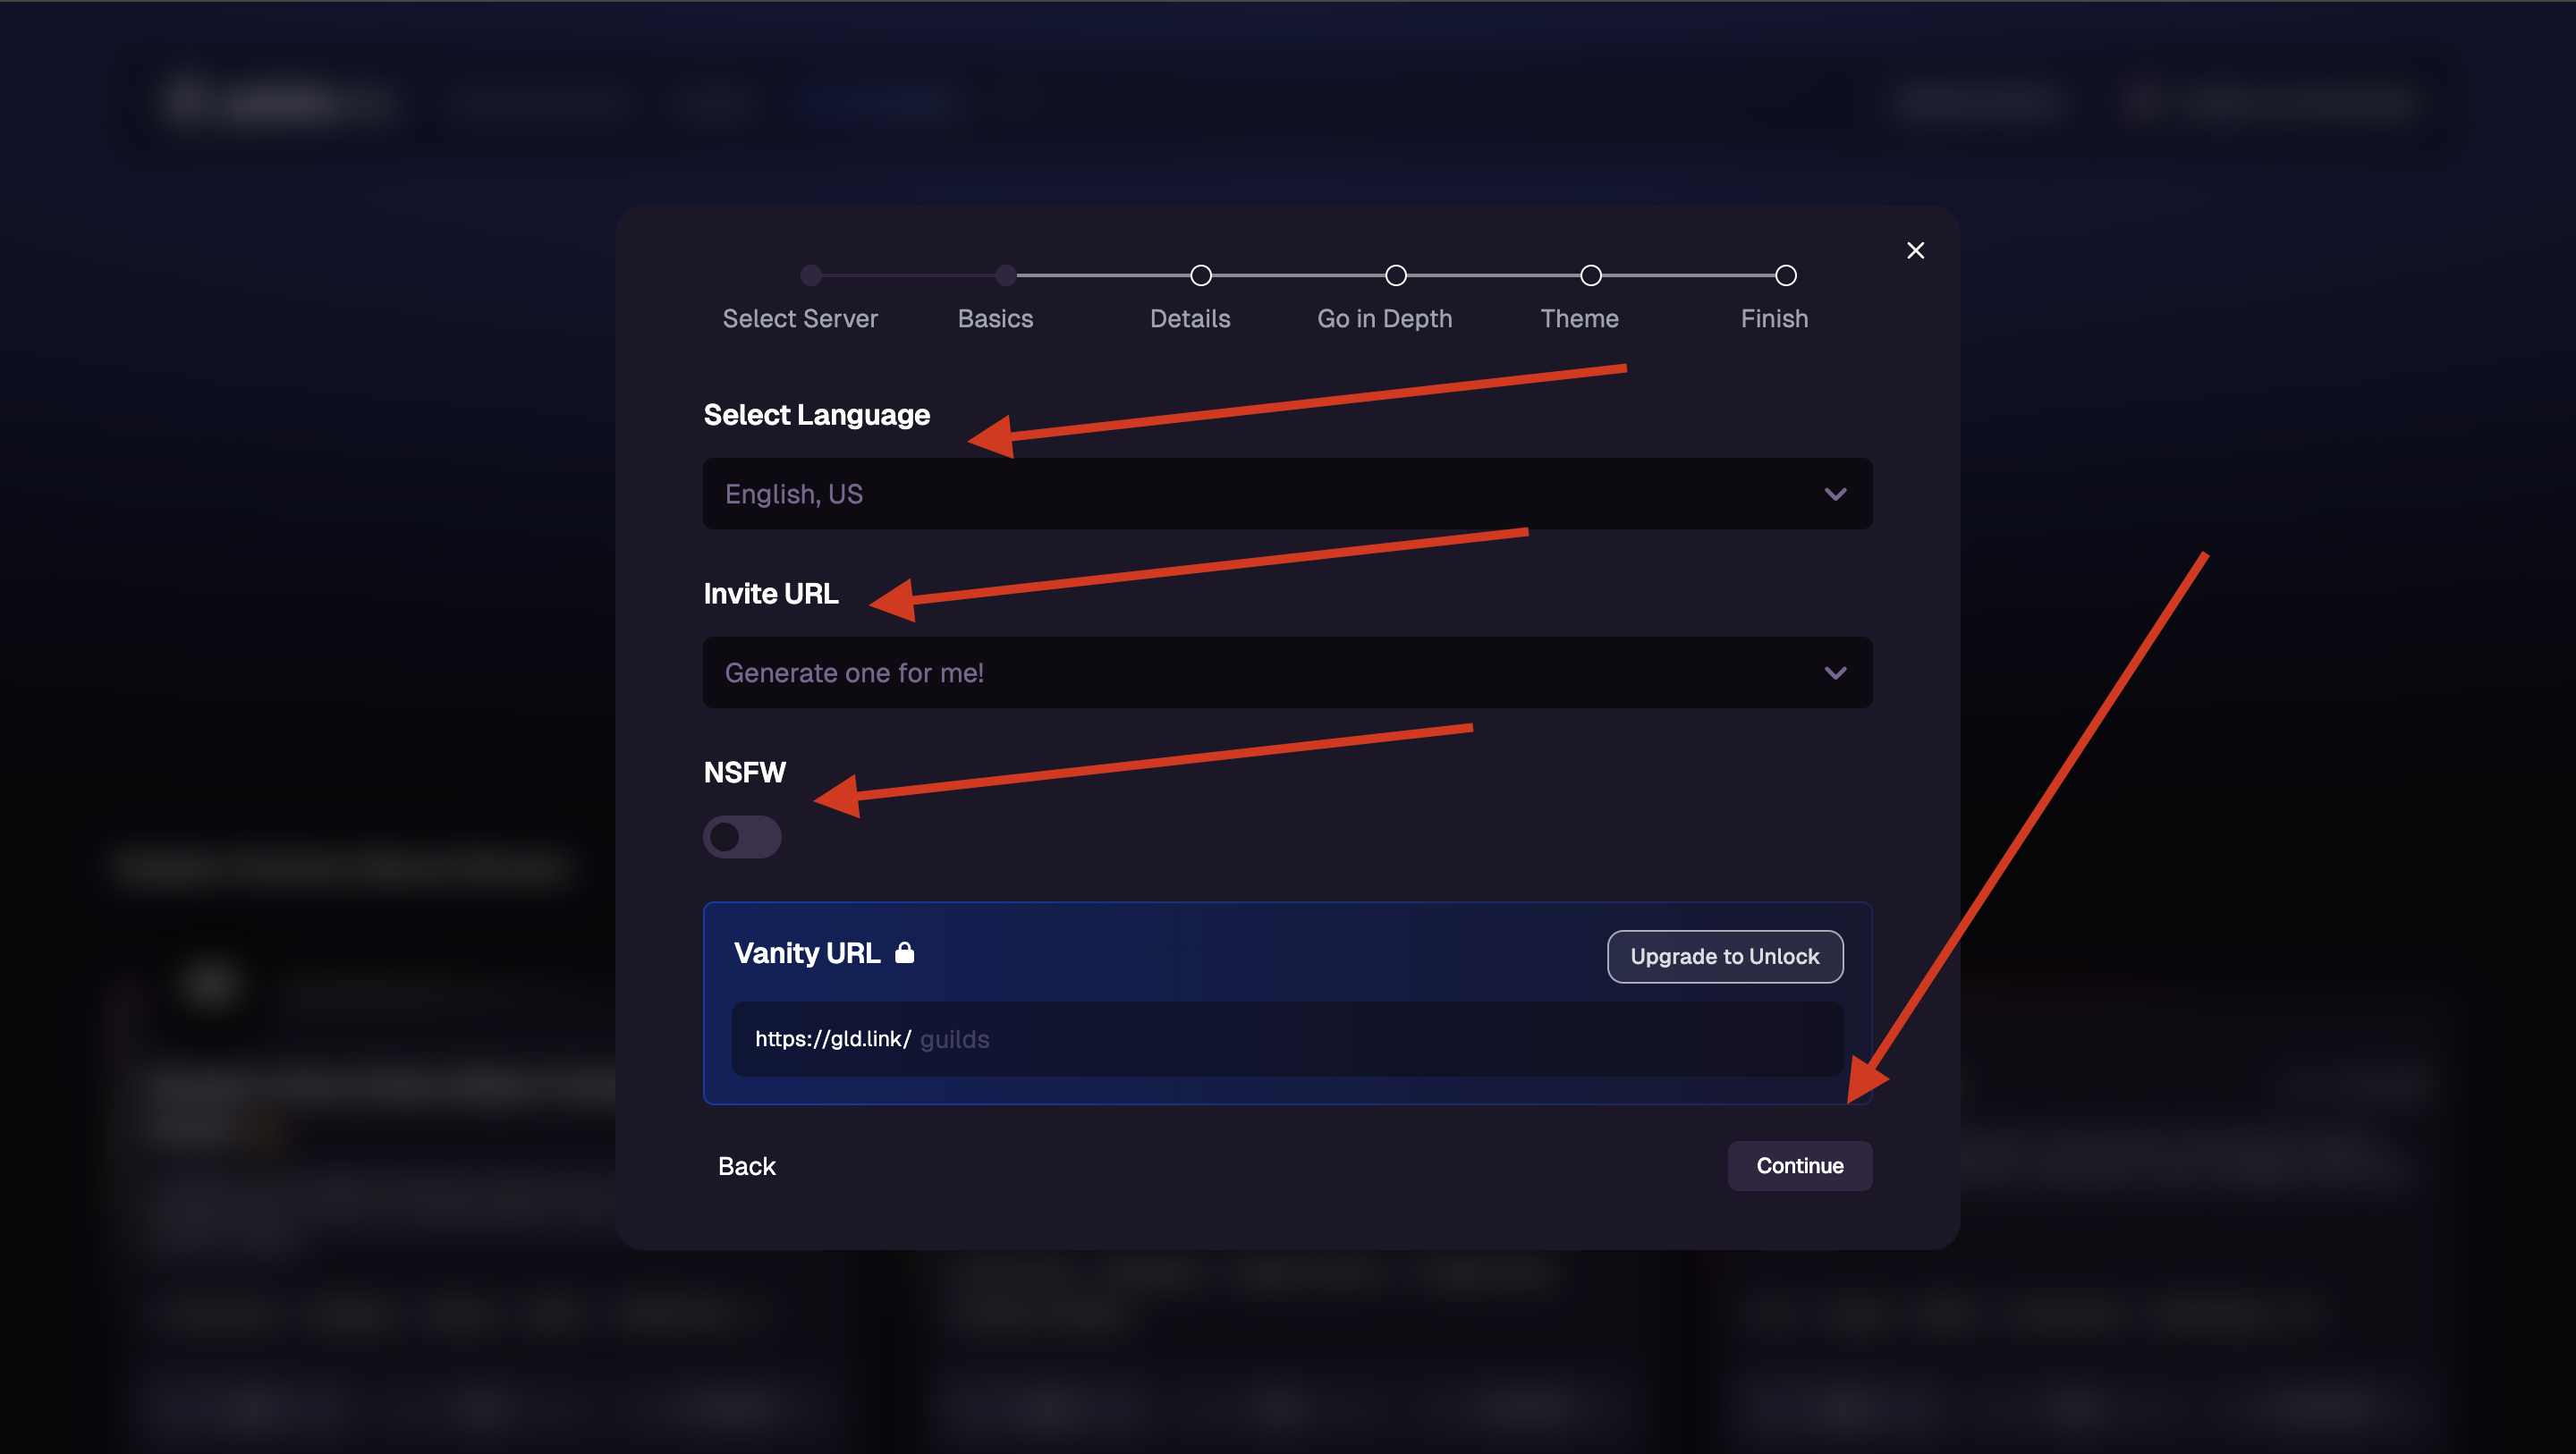
Now that the bot is in your Discord server, you can behin setting up the basics of your listing. From this page, you can setup your server’s primary language.It’s okay if your server speaks more than one language, just pick the most popular one.
We recommend keeping this set to “Generate one for me” so your invite does not become invalid
Step 5: Details
Now you’ve setup the basics of your listing, you can start getting into the nitty gritty. From this page you can setup your short description (a brief summary of your server designed to catch people’s attention Tags, and keywords. Tags and keywords are designed to help our algorithm display your listing to people who actively want to see it. For this reason we strongly recommend making them as accurate as possible, and using as many as possible. Once you’re happy with how everything looks click the continue button once again.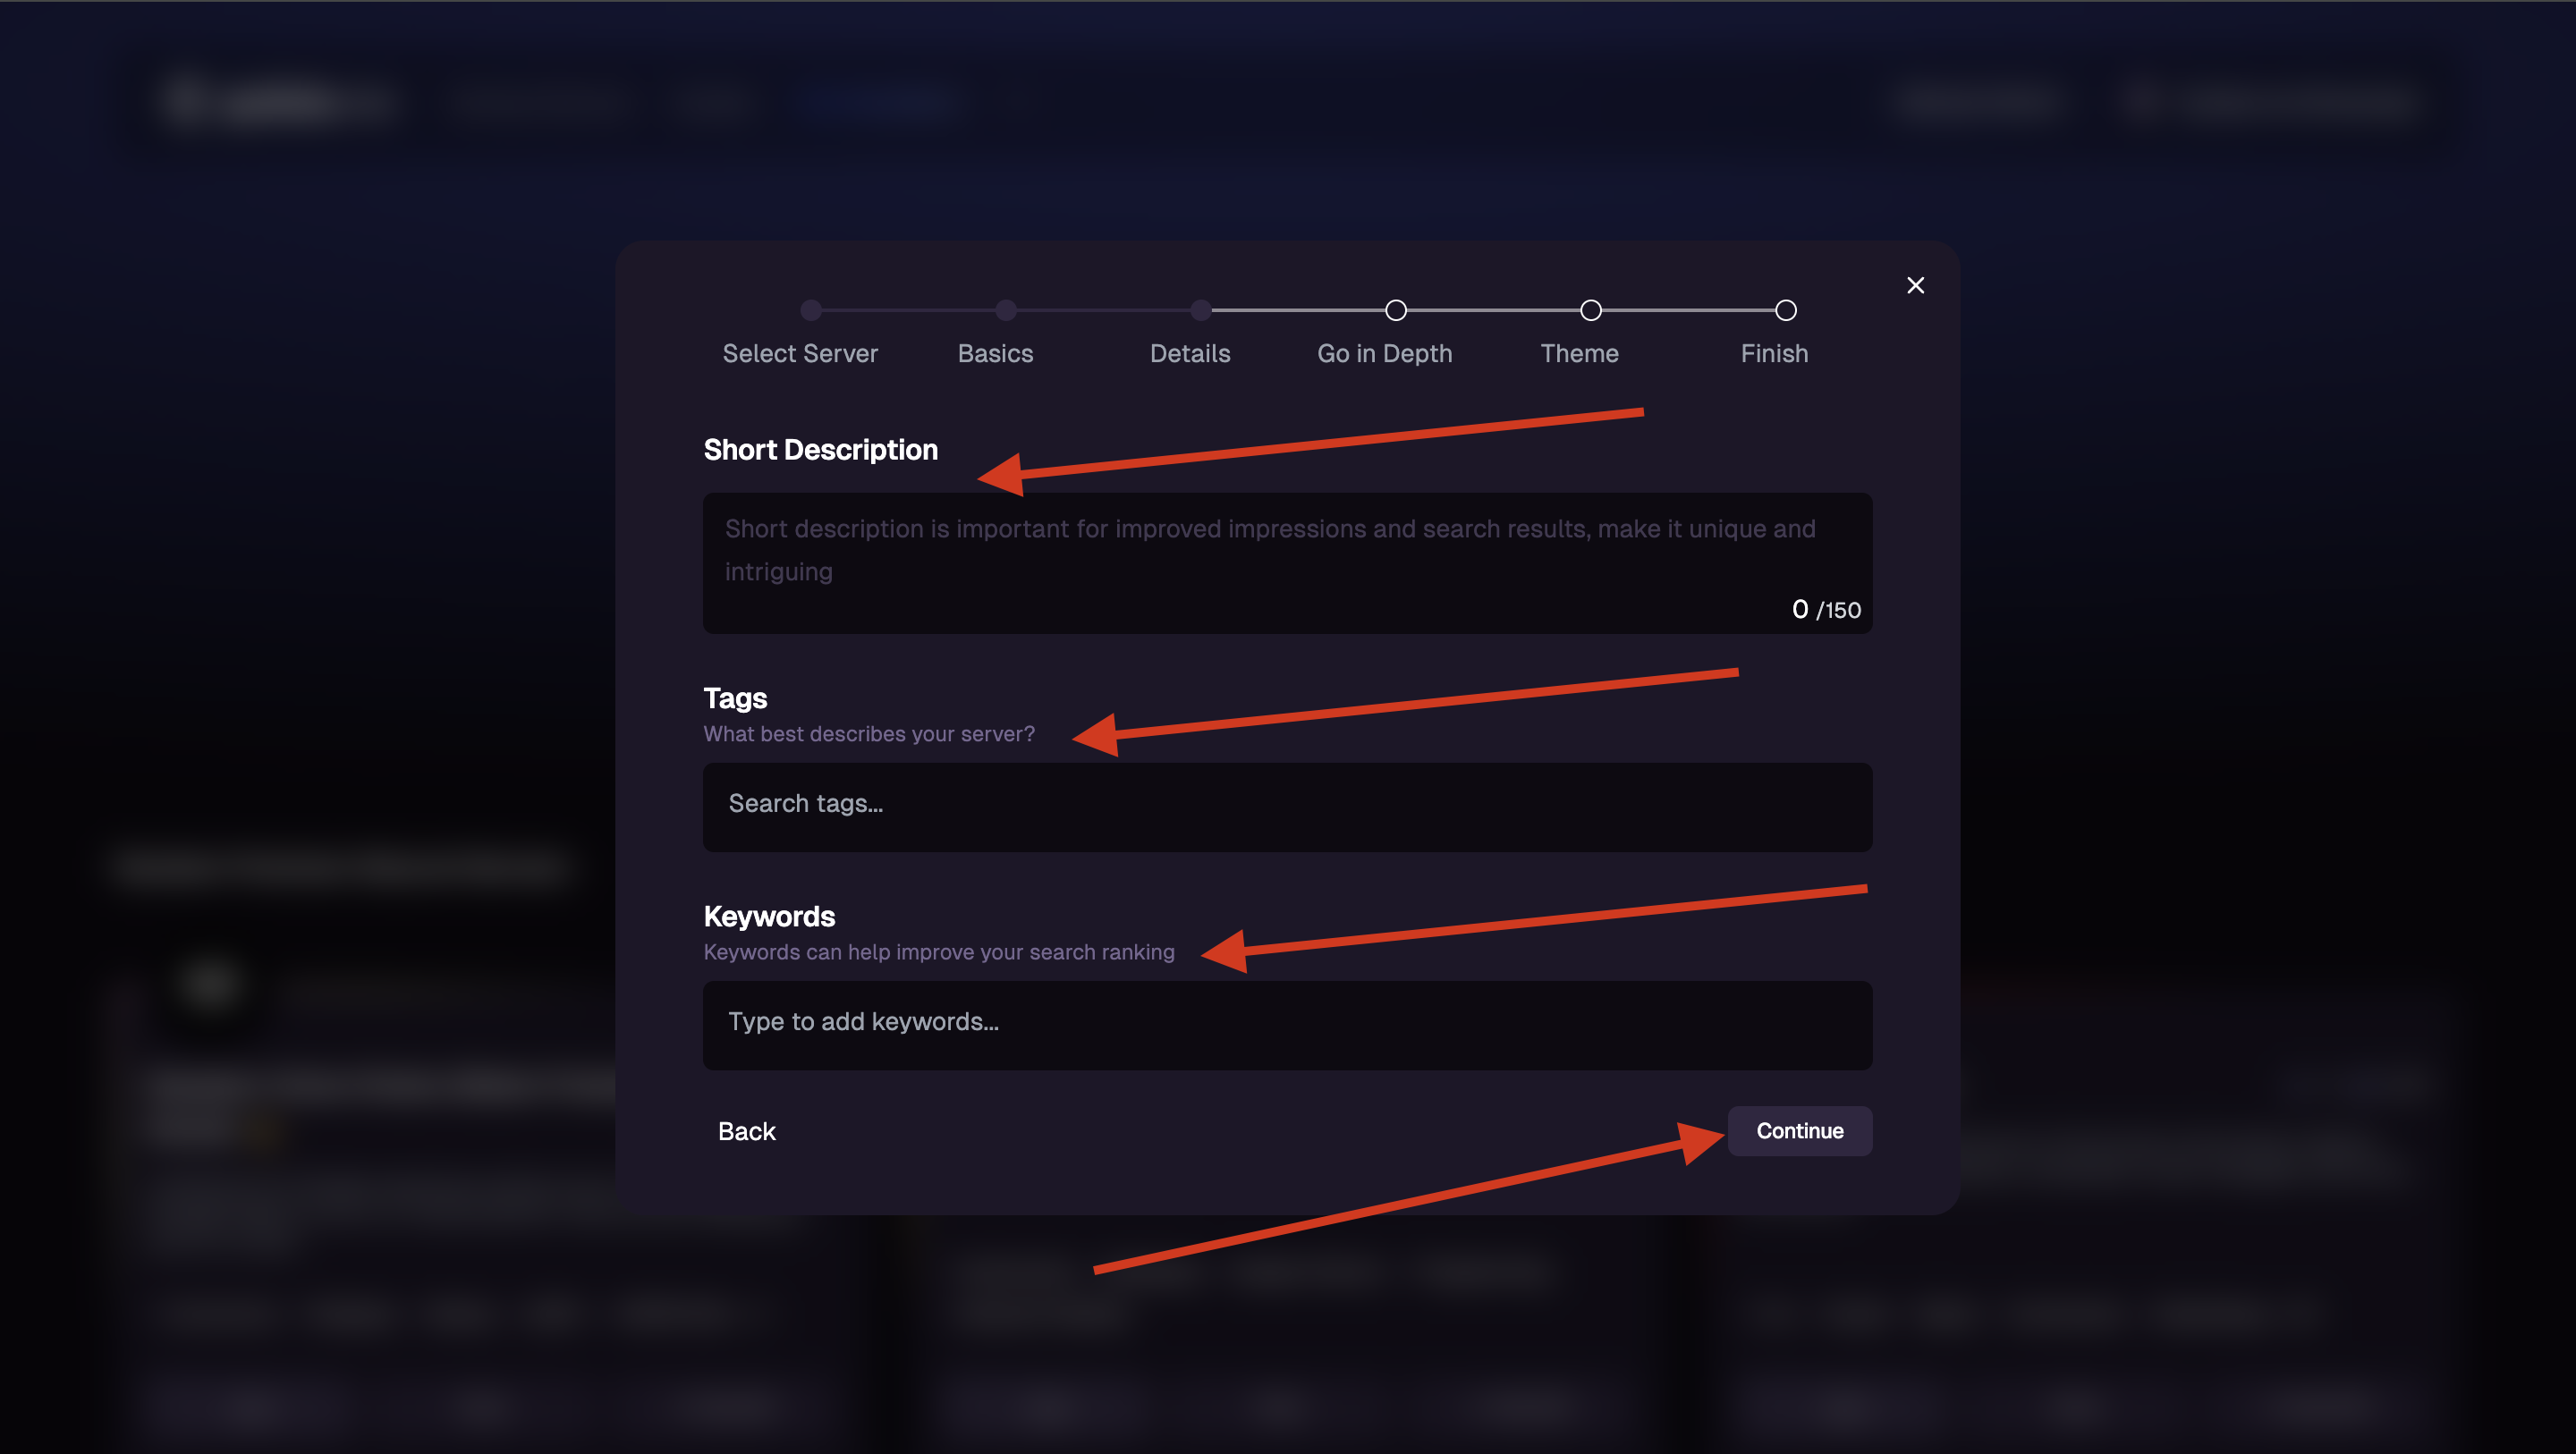
Step 6: Go in Depth
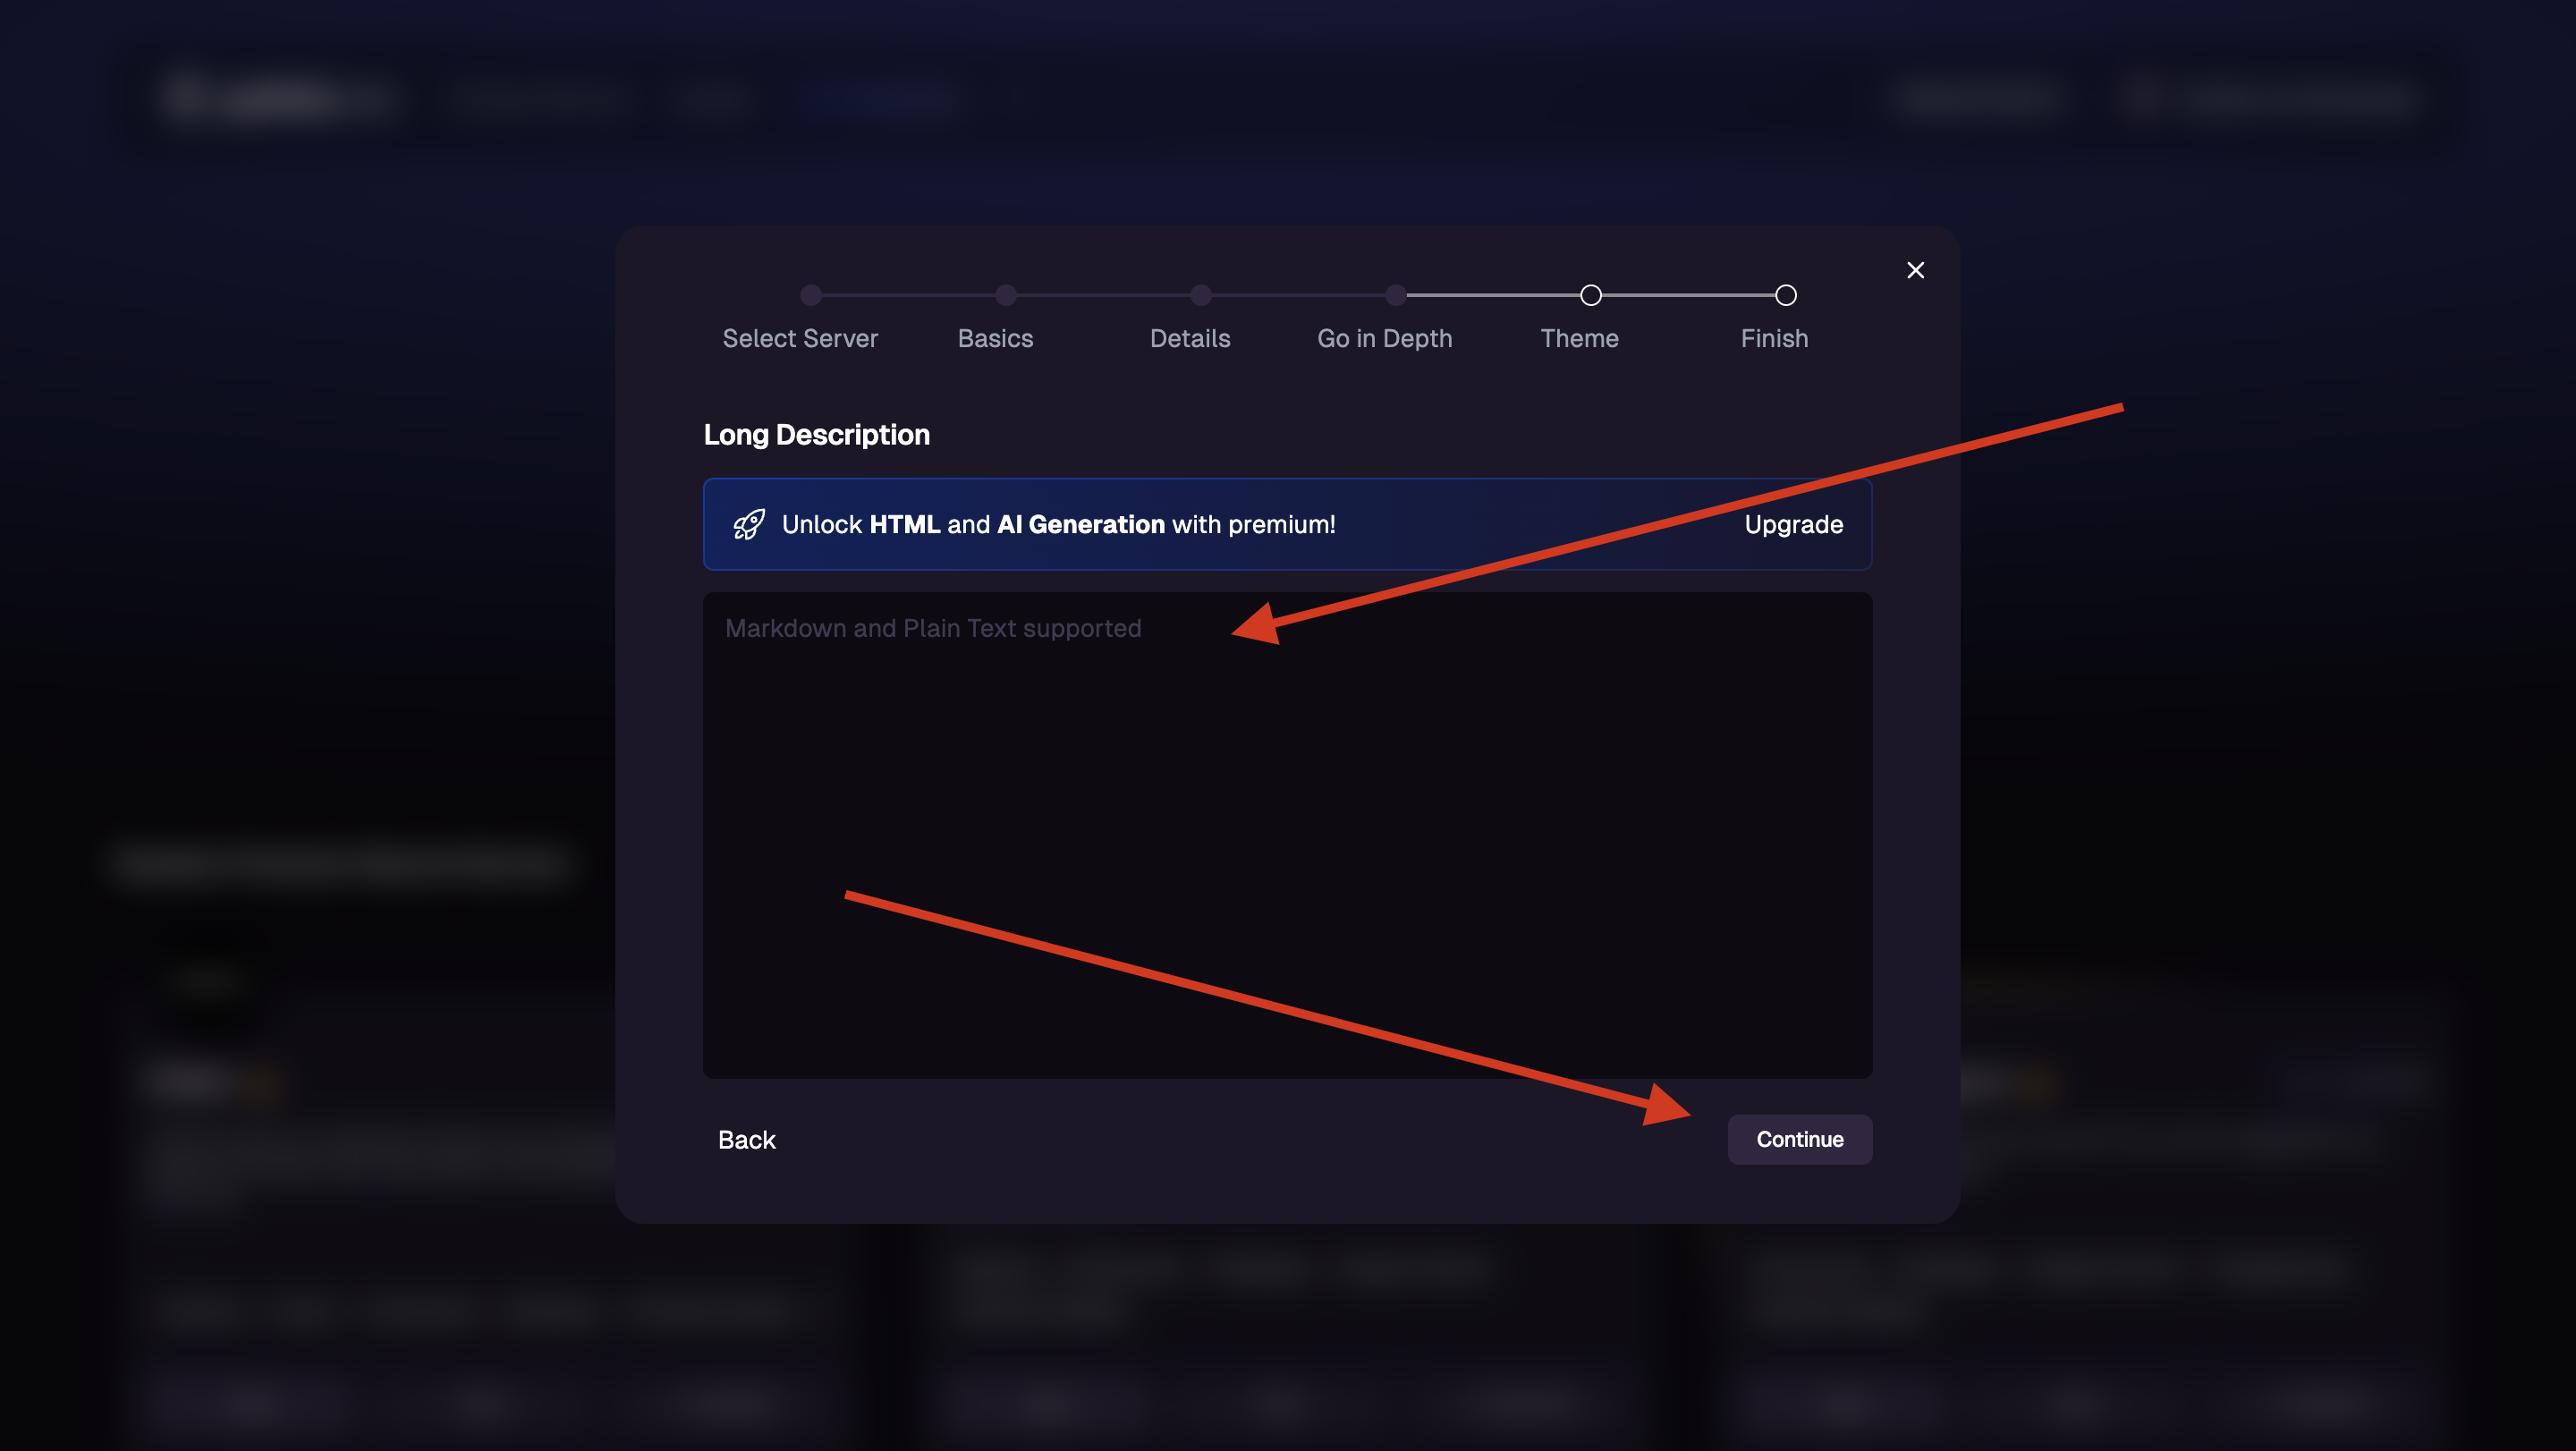
We’re almost there! Now you’ve set up the details of your Discord server, you have the opportunity to go in depth. In the long description field, we encourage you to go crazy, be creative! Describe your server to the best of your ability, highlighting it’s key features. Once you’re happy with how your long description looks, go ahead and click “Continue”Be sure to include eye catching markdown for an engaging server page
Step 7: Theme & Style
Penultimately, set your style. This is how your listing page will look when people click on it. You can choose from gradient or light (our personal favourite is light). You can also force a colour theme onto anyone who visits your server listing (even overriding their user preference) if you purchase premium Once that’s selected, click “continue” again.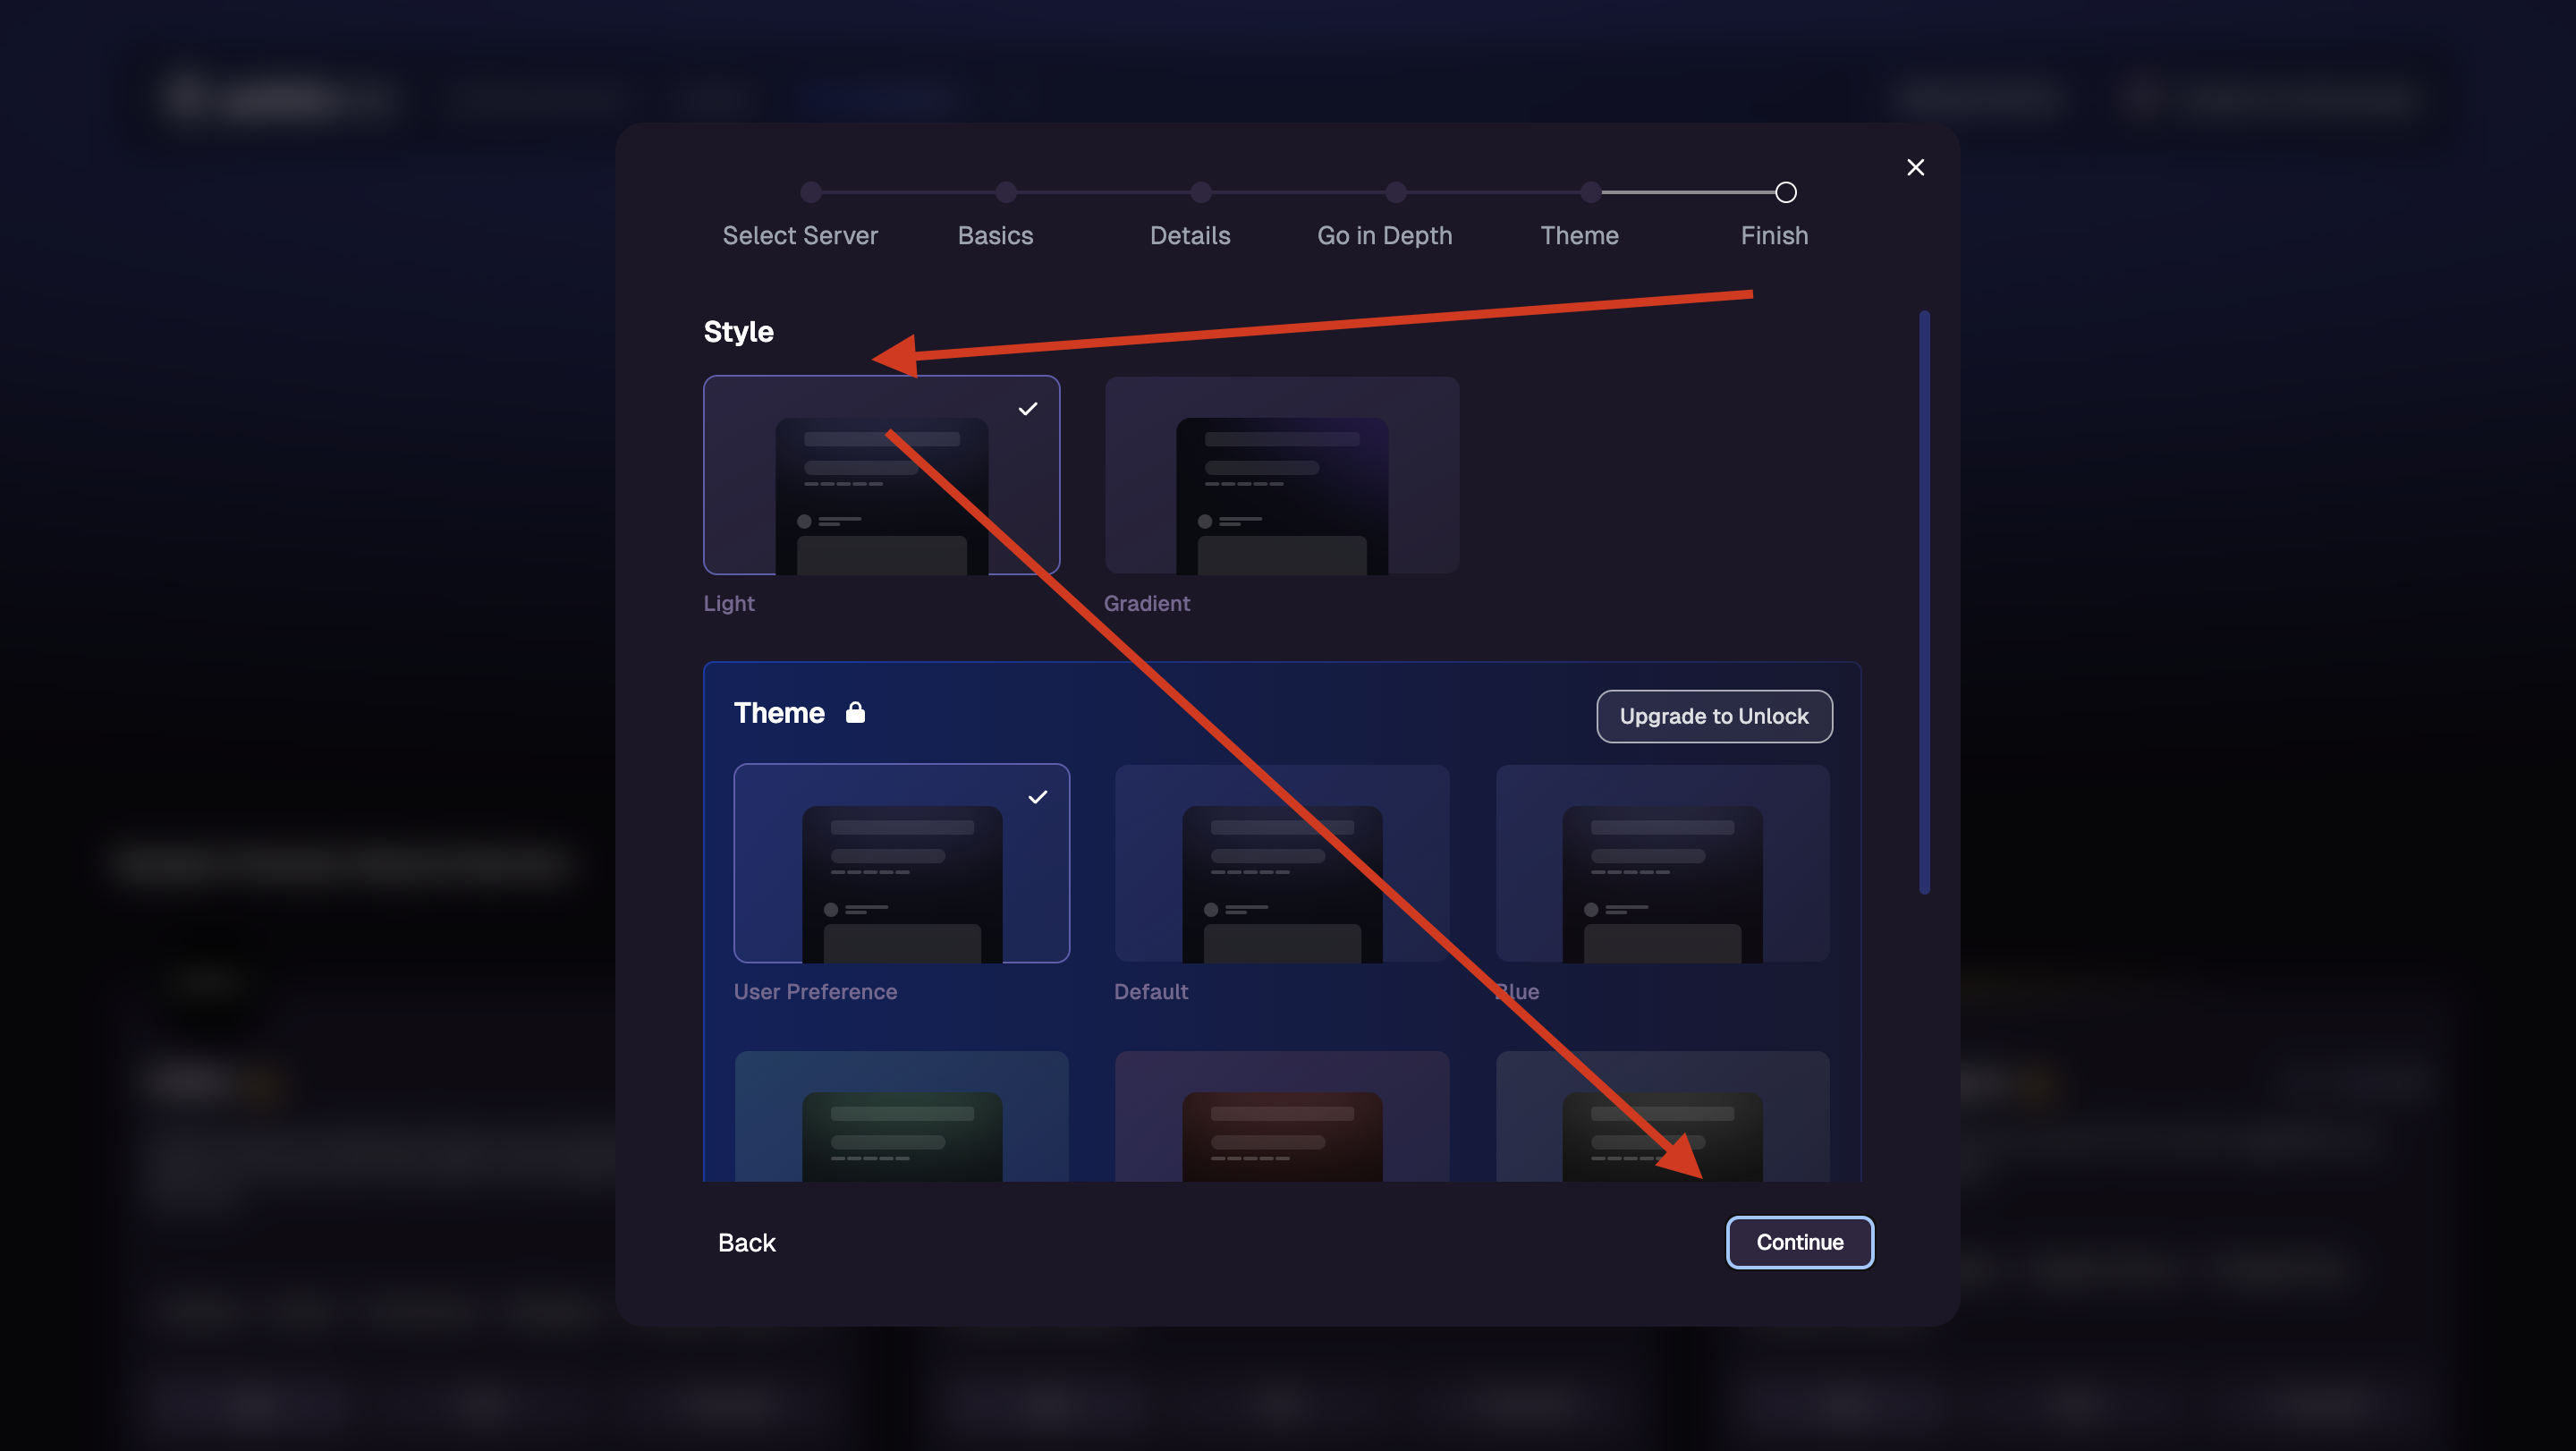
Step 8: Finish
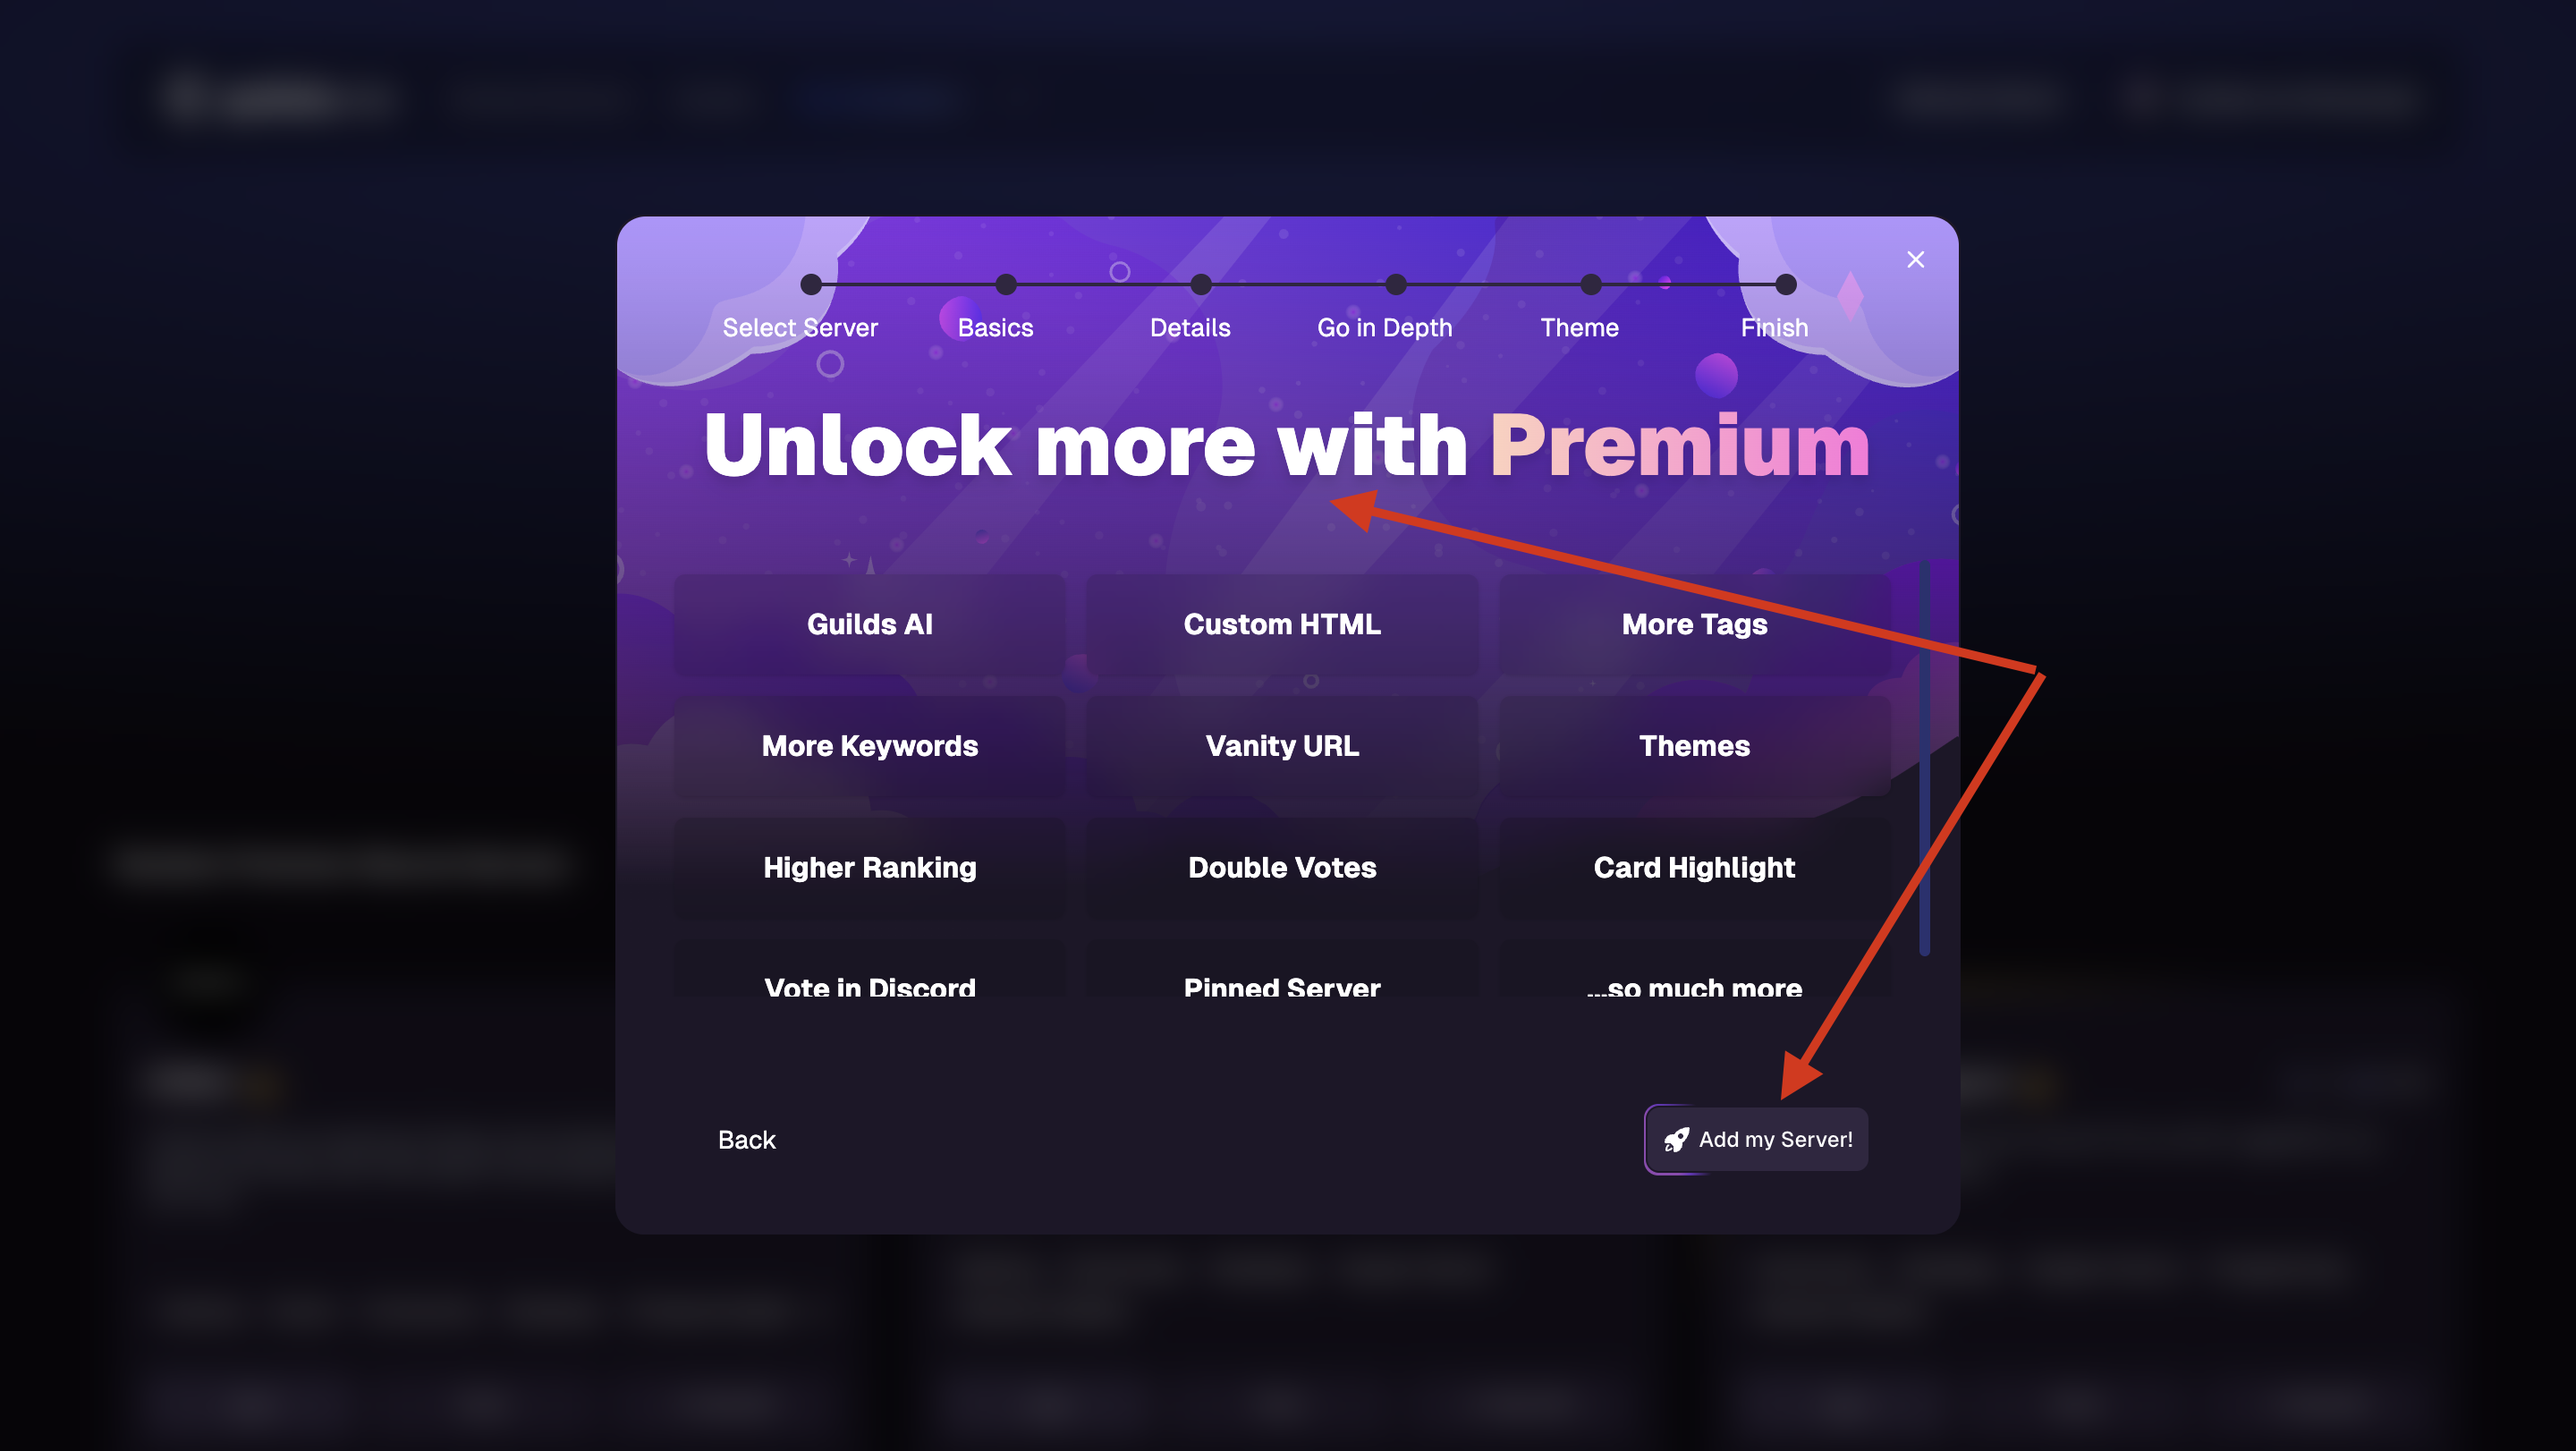
Last but not least, consider buying premium. You can boost your listing 75% more with premium. Not only that, you’ll unlock tonnes of other features, and help to support the maintenance and future development of guilds.me. If premium is not for you, don’t worry! Just click “Add My Server” and that’s it, you’ve listed your Discord server!